WordPress is a popular CMS in the online world. You can create various types of websites using it. It includes ecommerce websites, blogging, portfolio, business websites, etc. You get access to amazing plugins & themes that make your tasks easier. This versatile open-source platform is built on PHP and MySQL. In this tutorial, we will learn to install WordPress with Apache on Ubuntu 18.04.
So, you will be requiring a LAMP stack with Apache, SSL certificate, MySQL/MariaDB, & PHP 7.2 version.
Along with these requirements, make sure that you have met below conditions.
- You have a domain name with server public IP.
- Made sudo user login on Apache.
- You have installed Apache on Ubuntu 18.04.
- Your domain is secured with an SSL certificate. For example, domain SSL certificate installed via Let’s Encrypt.
Make sure that you have upgraded versions.
$ sudo apt update
$ sudo apt upgrade
So, once done, we will go ahead to installing WordPress with Apache on Ubuntu.
Create a MySQL database
Firstly, we will begin with installing MySQL database & user account. After that, you need to allow access to this database. As WordPress stores all its data under MySQL, you need to create a database. So, this is how all the files, themes, plugins, posts, pages, etc will be stored under one database.
Make sure that you install MySQL and MariaDB on your Ubuntu web server. This is the first step to install WordPress with Apache on Ubuntu 18.04.
In the further steps, you need to login to the MySQL shell. You can enter the below command.
$ sudo mysqlAfter that, it’s time to create a database. You can give the below command to enter into a fresh database.
CREATE DATABASE wordpress CHARACTER SET utf8mb4 COLLATE utf8mb4_general_ci;Once done, it’s time to create a user account & allow access to the database.
GRANT ALL ON wordpress.* TO 'wordpressuser'@'localhost' IDENTIFIED BY 'change-with-strong-password';In the end, you can step out MySQL console by giving command as shown below:
EXITInstall PHP 7.2
You can install the PHP 7.2 version which is present in Ubuntu 18.04. This version completely supports WordPress. One needs to install PHP and its extensions. You can run the following command:
$ sudo apt install php7.2 php7.2-cli php7.2-mysql php7.2-json php7.2-opcache php7.2-mbstring php7.2-xml php7.2-gd php7.2-curlAfter that, do not forget to restart Apache so the PHP extensions get loaded.
$ sudo systemctl restart apache2Install WordPress CMS
You must create a directory to store WordPress files beforehand. It is necessary to install WordPress with Apache on Ubuntu 18.04. So, you can run the following command.
$ sudo mkdir -p /var/www/example.comIn further steps, you have to download WordPress CMS latest version. You can download it from here. Give the following wget command.
$ cd /tmp
$ wget https://wordpress.org/latest.tar.gz
After downloading WordPress, you need to extract the archives. Once done, you can transfer the extracted files into the domain’s root directory.
$ tar xf latest.tar.gz
$ sudo mv /tmp/wordpress/* /var/www/example.com/
Make sure that you have granted the right permissions. This is how your web server can access website’s files & directories using chown command.
This command lets you change the access controls of a given file or directory. You can change the user or group access controls with it. So, run the following chown command to grant the correct permissions.
sudo chown -R www-data: /var/www/example.comConfigure Apache
I assume that you have Apache with SSL certificate installed. The further step is to edit the Apache virtual host configuration.
$ sudo nano /etc/apache2/sites-available/example.com.confSo, this configuration redirects www to non-www version & HTTP to HTTPS and enables HTTP2. While doing so, you have to replace “yourdomain.com” with a WordPress domain. Also, you need to verify whether there is a right path to SSL certificate files.
/etc/apache2/sites-available/yourdomain.com.conf
<VirtualHost *:80>
  ServerName yourdomain.com
  ServerAlias www.yourdomain.com

  Redirect permanent / https://yourdomain.com/
</VirtualHost>

<VirtualHost *:443>
  ServerName yourdomain.com
  ServerAlias www.yourdomain.com

  Protocols h2 http/1.1

  <If "%{HTTP_HOST} == 'www.yourdomain.com'">
    Redirect permanent / https://yourdomain.com/
  </If>

  DirectoryIndex index.html index.php
  DocumentRoot /var/www/yourdomain.com

  ErrorLog ${APACHE_LOG_DIR}/yourdomain.com-error.log
  CustomLog ${APACHE_LOG_DIR}/yourdomain.com-access.log combined

  SSLEngine On
  SSLCertificateFile /etc/letsencrypt/live/yourdomain.com/cert.pem
  SSLCertificateKeyFile /etc/letsencrypt/live/yourdomain.com/privkey.pem
  SSLCertificateChainFile /etc/letsencrypt/live/yourdomain.com/chain.pem

  <Directory /var/www/yourdomain.com>
      Options FollowSymLinks
      AllowOverride All
      Require all granted
  </Directory>

</VirtualHost>
Furthermore, you have to plug in the virtual host for your domain. It is an important step to install WordPress with Apache on Ubuntu 18.04. If you follow the below command, you will generate a symbolic link. It will be created from the sites-available to sites-enabled directory.
$ sudo a2ensite yourdomain.comMoreover, you need to restart the Apache service by giving the following command.
$ sudo systemctl restart apache2Finish the WordPress installation
Lastly, you need to finish the final WordPress installation through the web server.
To begin with, you need to open a web browser and type in a domain name. The following screen will appear.
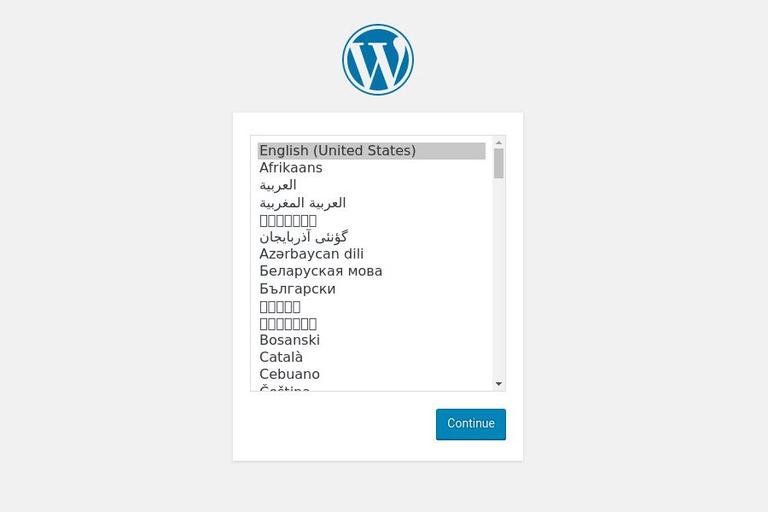
You need to select a specific language to operate further.
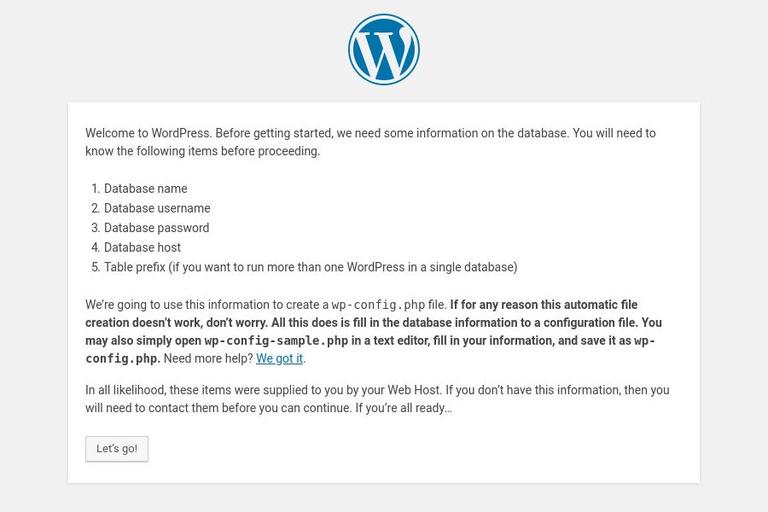
After that, you need to click on ‘Let’s go!’ button.
Now, it’s time to enter your MySQL user credentials. After that, you need to click on ‘Submit’.
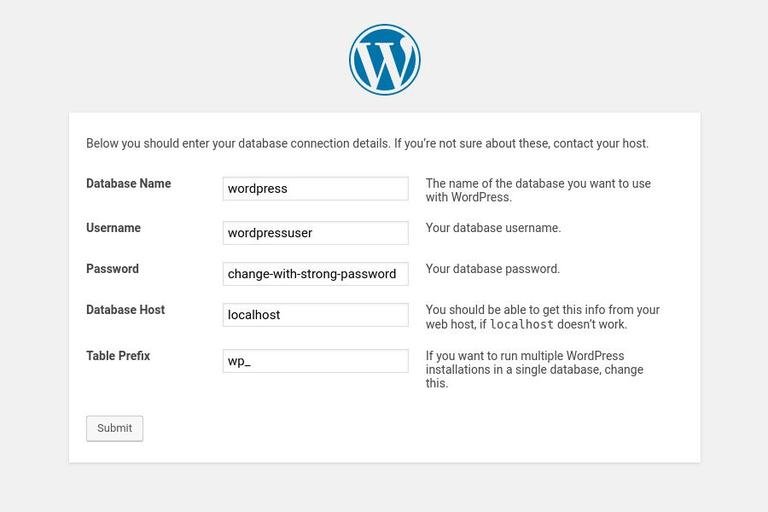
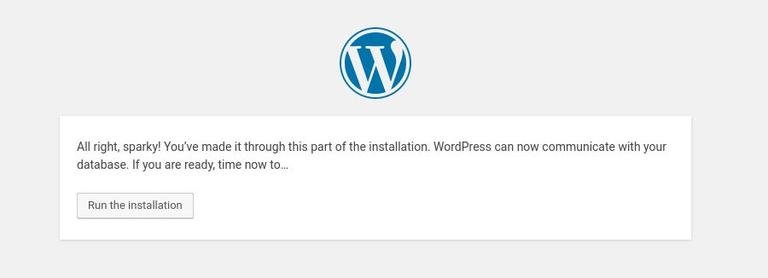
Thereafter, you can proceed with the installation by clicking the ‘Run the Installation’ button.
Further, you need to finalize the name for your WordPress website and also username. Make sure that you do not keep it ‘admin’ to ensure safety from hackers. This is one of the last steps to install WordPress with Apache on Ubuntu 18.04.
After this, you can choose to go by the password suggested by the installer. Otherwise, one can also set his own password.
In the end, you can discourage the search engine indexation for your site, if you wish so.
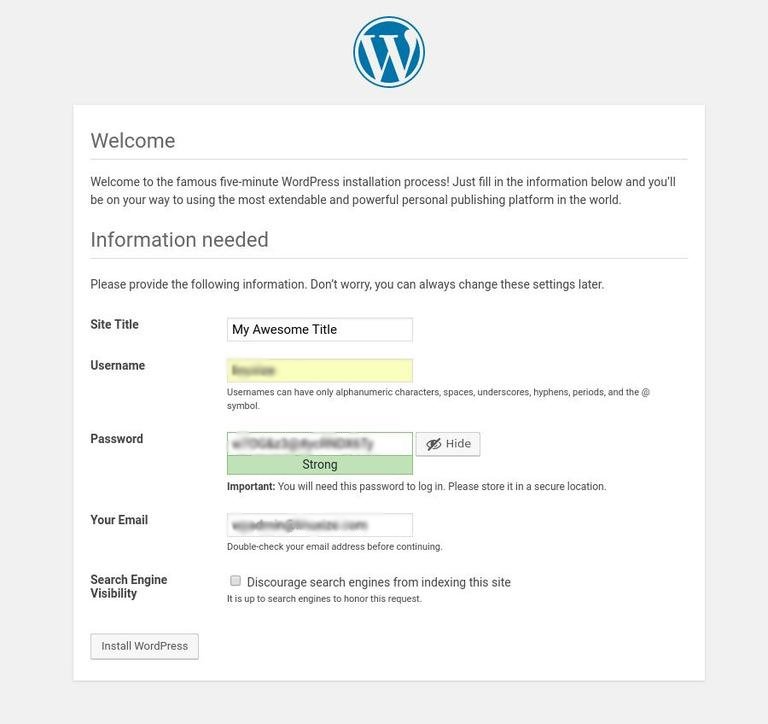
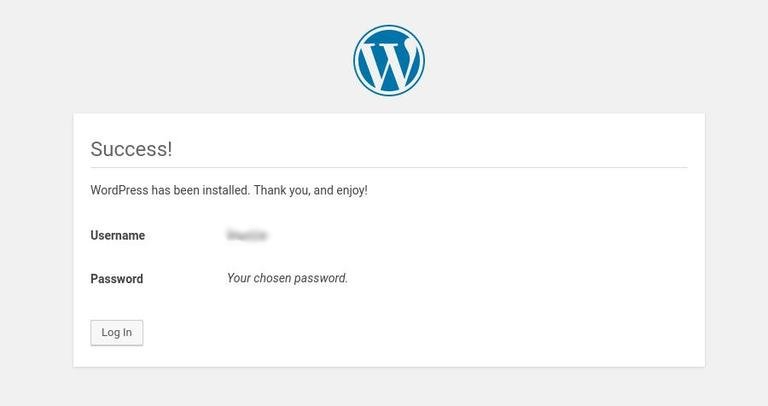
Now, click on ‘Install WordPress’. Once clicked, you will be redirected to a page showing your WordPress has been installed. You can click on ‘Log in’ to enter into your admin panel.
You need to enter user credentials like username & password.
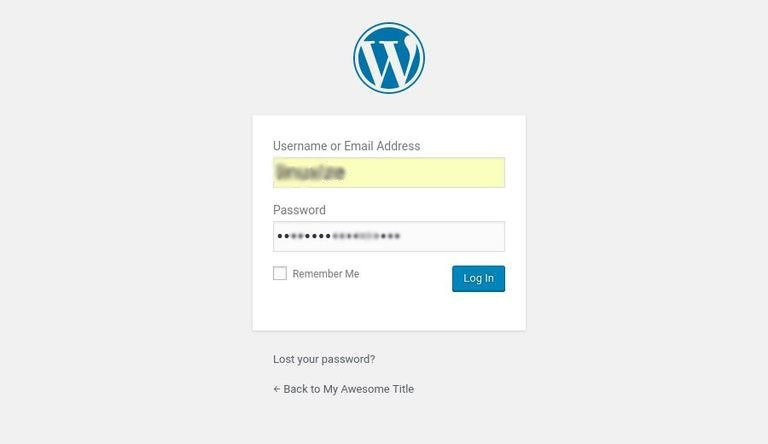
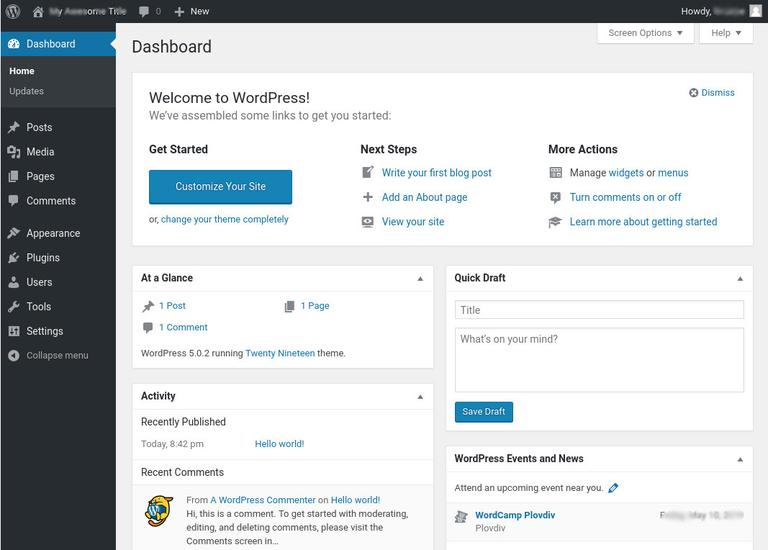
This is how you will be redirected to the admin dashboard. So, start your journey with WordPress. You have successfully learned to install WordPress with Apache on Ubuntu 18.04.
Let me know in the comments if it worked successfully for you.
Also Read, Install WordPress on cPanel Manually
A Beginners Guide to What is WordPress WooCommerce Plugin
Important links: WordPress – https://wordpress.org/